 |
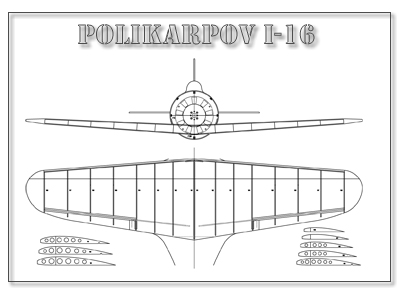
| This I-16 model was designed with AutoCAD. Patterns for laser cut parts
were designed for this model to speed construction and for future kit production. |
 |
|
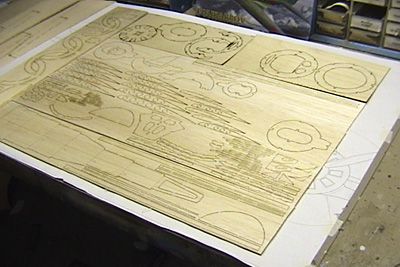
The templates were sent to AKM Models for cutting.
Here's how the parts look after coming back from the cutter.
|
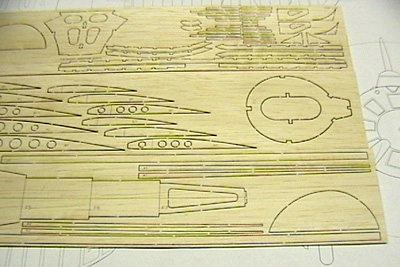 |
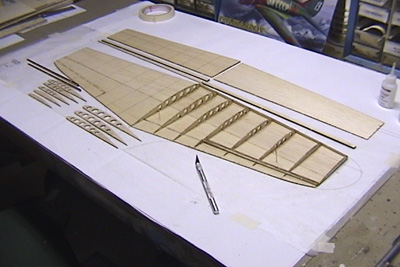
| Patterns for the bottom wing skins were laser cut with lines indicating the placement
of ribs and aileron spars. The lower wing skins are two pieces of 1/16" balsa. Start the wing
construction by laying wax paper over the wing plan and joining the two lower wing skins.
|
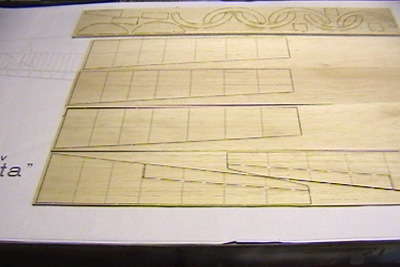 |
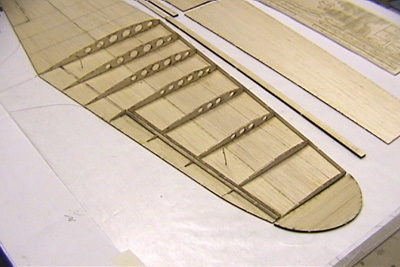
| Glue the forward aileron spar on the lower wing skins. Trim the tail off of ribs
W7, W6 and W5 and glue them to the lower wing skin. (Save the tails for placement on the aileron.)
Glue rib W8 (tip rib) down on the skin. Glue the rear aileron spar on the skin making sure to align
it to the cut line where the aileron hinge line will be. Be sure not to glue the rear aileron spar
to the forward spar.
|
 |
| At this point fabricate the aileron torque tubes. Use 1/16" dia music wire and
either brass or aluminum bearing tubes. Be sure to make a left and right hand pair. I make my
connection to the busic wire for the control linkage from 1/16" brass tubing. Flatten the tube
with a hammer leaving about 3/8" to solder to the stub of music wire. Drill 1/16" holes in the
flattened part to accomodate the linkage clevis.
|
 |
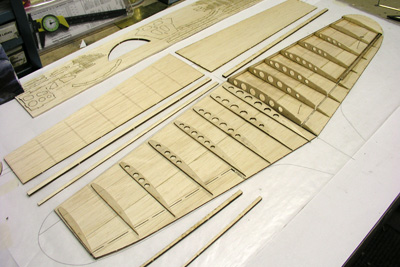
| Another view of entire wing structure with the left panel ready for assembly. |
 |