 |
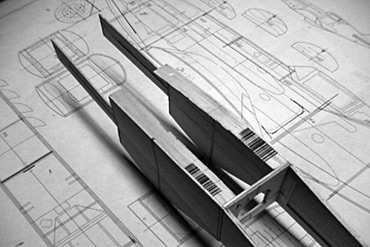
| Lower rear fuselage section behind wing saddle showing 1/2" triangular stock. Rear formers have not
been added yet. |
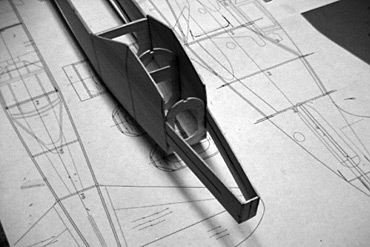 |
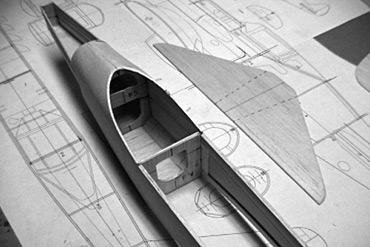
| The fuselage sides are pulled together while aligned over the plan and glued to tail former F7. Then add
formers F5 and F6 in the locations you marked on the fuselage sides. |
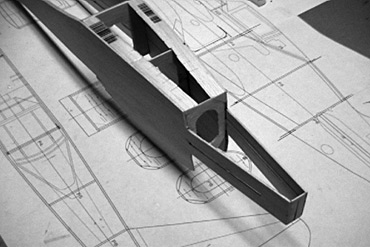 |
| Bottom view of fuselage. Glue a 1/16" balsa alignment piece between F6 and F7 tail former. (Shown in next
photo.) This alignment piece keeps the tail square and is a base for adding the lower balsa blocks later. |
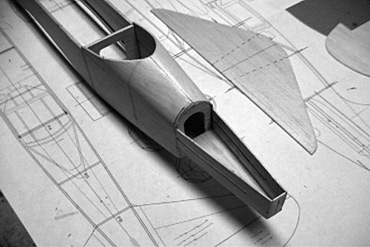 |
| Wrap the top turtle deck portion of the fuselage sides around formers F5 and F6. Wet the balsa and
it will bend easily around the formers. |
 |
| View of fuselage looking toward tail showing top turtle deck sheeting in place prior to adding the
rear cockpit sheet F6T. Note the horizontal stab next to the fuselage without lighting holes added. |
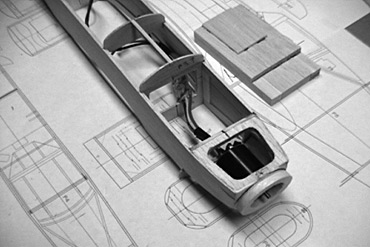 |
| Back to the nose part of the fuselage. Top fuselage formers FT2 and FT3 have been added as well as
the 1/8" square stringer. A top forward balsa block section has been prepared for installation and carving to shape.
(See adjacent to fuselage on the building board.) Tack glue the forward block in place, sand to shape, remove and hollow
out for weight savings and then permanently attached. |