 |
| The sheet is aligned down the center of the side stringer and glued along this edge. 1/16" balsa
doublers are glued to the inside of the sheets between F2 and F5. |
 |
To form the 1/16" balsa lower skins to the fuselage frame I use a sponge soaked in hot water
to wet the fuselage sides. The must be soaked to the point where they wrap easily without cracking. |
 |
Use thin CA glue to glue the fuselage sides to the fuselage frame starting with formers
F3 and F4 (short formers over wing saddle. Work a little on each side switching back and forth until
both sides are copletely wrapped and joined at the center lower stringer. A good trick for reinforcing the
joint at the formers is to sprinkle baking soda in the joint before applying the thin CA glue. |
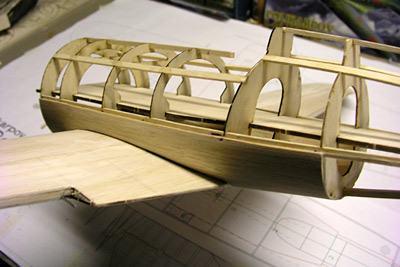 |
Trial fit the wing to the saddle formed by the sheeting and sand the sheeting as necessary to that
the wing fits flush with the rear hold-down plate. There should be a 1/64" gap between the wing and the sheeting
to allow for a wing fillet. |
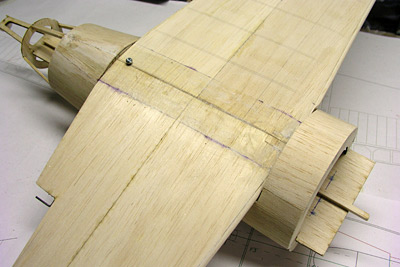 |
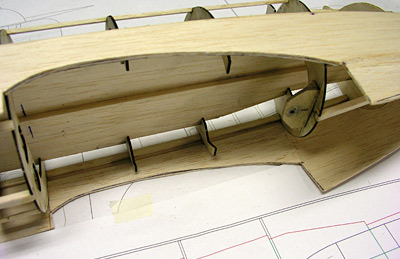
Bottom view of the fuselage with the first phase of fuselage sheeting complete.
Small formers will be glued to the wing and covered with sheeting to blend the wing into the fuselage. |
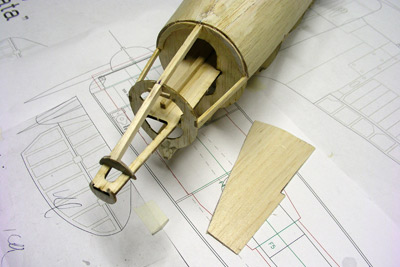 |
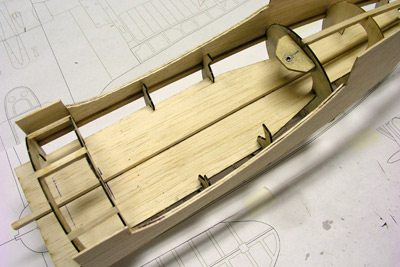
The aft lower sheeting is added. A strip of 1/16" balsa is glued to the back
side of F6 to attach the sheeting. The sheeting is soaked in hot water to allow it to form
to the fuselages sub structure. |
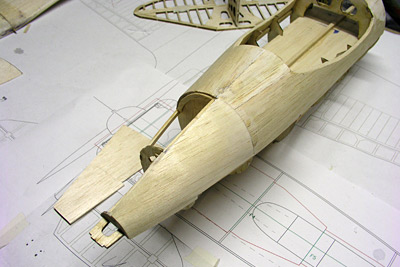 |
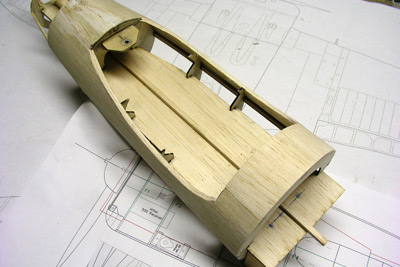
The first half of aft tail sheeting has been added and the second piece is
ready to be added. Carved and hollowed balsa block will complete the tail assembly and
will be installed after the horizontal and vertical stabilizers. |